How to Schedule Instantly to Later from Canva
My favorite time-saving workflow for social media planning
If you’re using Canva to create your marketing visuals, then brace yourself for some content creation cheer: you can just skip the download-and-upload loop and send your designs straight from Canva into Later for scheduling. 💃
And if you’re creating content using Shamblen Studios templates, this integration make the process even more butteryyyy smooth. Here’s how to make the most of it.
Why use the Canva ↔ Later integration?
I’ll tell ya why:
Fewer steps: instead of editing in Canva, exporting locally, then uploading to your scheduler… blah blah blah… you can simply connect the apps and move directly from one to the other saving you LOADS of time in the long run.
Less clutter: my husband’s download folder is a scary place in terms of unorganized, lost downloads… and I know he’s not the only one. Besides, who likes digging through files on their computer anyway? Since you don’t need to save your downloads locally, everything stays in that magical internet cloud. 🪄
Better organization: because you’re exporting into Later’s media library, you can tag, schedule, and batch your content more easily. Kick that downloads folder to the curb!
Time saved = more time on the important things: you can batch like a boss and design a week’s work of posts in Canva, send them all to later, and schedule everything in one sitting… giving you more time to focus on everything else to keep your business running smoothly.
Step-by-step to set it all up:
First: Connect Later to your Canva account
Log into your Canva account, navigate to the left-sidebar and click Apps
Search for Later, click on its icon, and hit Open at the bottom
You’ll get a prompt to allow Canva to connect to your Later account—authenticate/log in as needed
Once connected, the Later app will appear at the bottom in your Canva sidebar for easy access!
Second: Prepare your designs in Canva
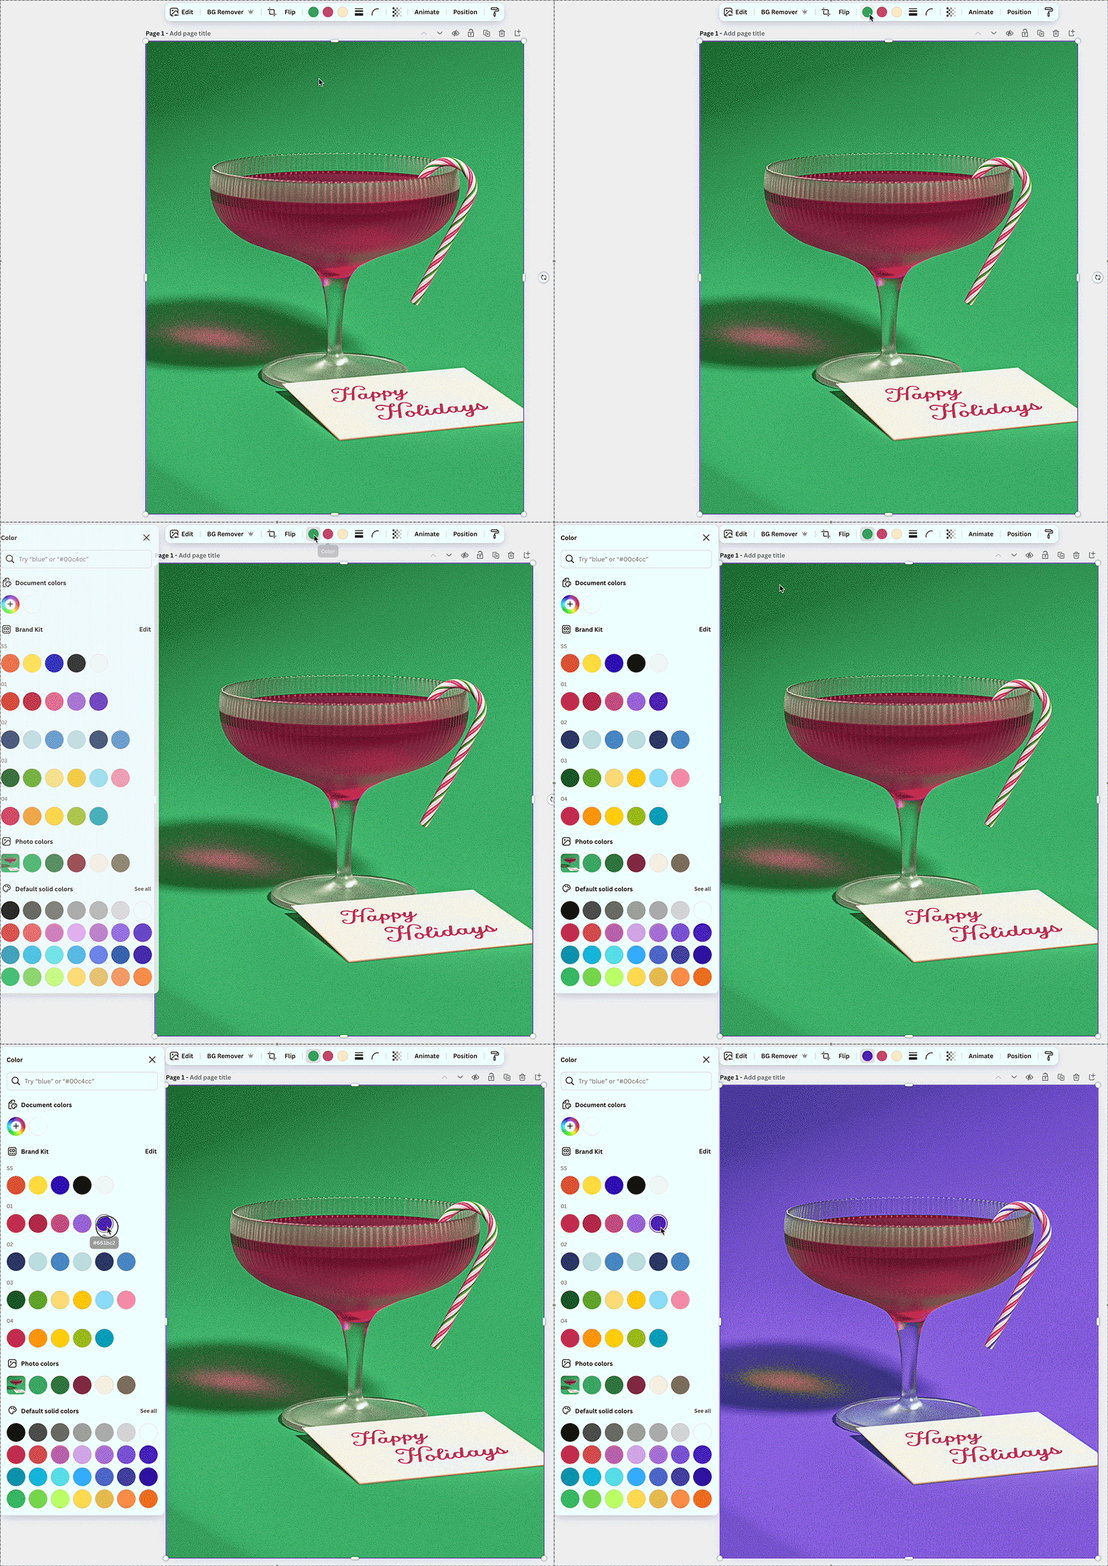
Create your posts are you normally would in Canva: choose size (Instagram feed, story, Reel cover, Pinterest pin, etc.) and apply your brand assets. If you’re a Shamblen Studios member, you can just use an already made image and switch it out with your colors.
Organize, organize, organize! I like to make separate folders for “Instagram feed,” “Stories,” “Reels,” etc. as well as the naming the file clearly with those categories so I know exactly what it’s for at first glance. This makes scheduling smoother, too.
Utilize imagery that makes branding customization a breeze to maximize your time spent on social media marketing.
Third: Export your design to Later
While in your design, click the Later app in the sidebar.
Choose Export to Later. You can select which account in Later you’re sending to if you manage multiple brands.
Choose the proper export settings. If it’s a post, choose JPG, and if it’s a social media video/Reel, use MP4.
Click Export and your design will now appear in your Later media library! It’ll automatically be labeled with “canva” so you can find it easily.
Fourth: Schedule that thang
Now go to your Media Library in your Later account to locate the design your just exported at the tope (look for the “canva” system label if you so wish).
Drag that design onto your Later calendar, or simply select it and choose Create Post
Add your captions, hashtags, choose the date/time, and any other platform-specific options (like an Instagram feed vs story vs Tiktok).
Confirm and you’re done! Your post is all queued up and ready to publish automagically.
My tippy-top tips
Since time is money, here’s some extra tips to make your workflow even smoother:
Batch create & schedule: I like to set aside a dedicated time (e.g. once a week) to design multiple posts using my templates in Canva for my Pinterest schedule. Then, I export them all in one go… this gets me ahead about 2 weeks in my schedule!
Use folders & naming conventions: you’ll want to make it as easy as possible to find something you’ve created. I can’t tell you how many times I reference old posts—especially after checking the analytics and seeing how successful it was.
Keep track of your posting calendar: I always like to keep a little cheat sheet with me of my content strategy with themes, offers, etc… it helps to keep you on track rather than just reactive posting.
Use your templates wisely: when using your Shamblen Studios templates, build your batch around the same themes (for example, one template with variations for each post). That way, your brand stays consistent and you can plug-and-play faster!
Monitor performance: while the design + scheduling is streamlined, don’t forget to check how each post performs (engagement, clicks, etc.)… if you notice certain types of posts perform better, adjust your templates and content accordingly. And to not go crazy, check these analytics once a month—not everyday 😉
TL;DR
The Canva ↔ Later integration is pure magic! You’ll get to spend more time creating visuals, connecting with your audience, and actually running your business instead of hopping between tabs. Just connect Later in your Canva account and you’re on your way to saying “goodbye” to that dreadful downloads folder (if you didn’t actually read the post for the how-to, now’s the time!) 😇
Want to batch your content even faster?
If you’re ready to take your visuals to the next level, I have lots of templates for you to explore in the Shamblen Studios shop! They’re designed to help you create freakin’ amazing content that’s ready to schedule in seconds so you have more time doing what you love. And for unlimited content, check out the membership!
Happy scheduling! 😊


