How to Use Layers in Canva (So You Can Finally Stop Clicking the Wrong Thing)
The feature most people ignore… and the trick that makes it worth learning

If you've ever tried to put text on top of a photo in Canva and accidentally moved the photo instead… you've met layers! You just didn't know it yet.
Layers are the reason you've probably spent way too long clicking around a design trying to grab the one element that keeps… selecting... the wrong… thing.
You know that moment where you're trying to click on your text but Canva keeps selecting the photo behind it, so you click somewhere else and accidentally grab the background, and now everything's moved and you wanna scream at your computer?
Yeah, that's a layers problem.
Once you know how to fix it, a whole lot of things that felt annoying about Canva suddenly stop happening.
And by the end of this post, you'll also know how to use them to make any photo look like it was shot on a disposable camera in 1997. So. Let's get into it.
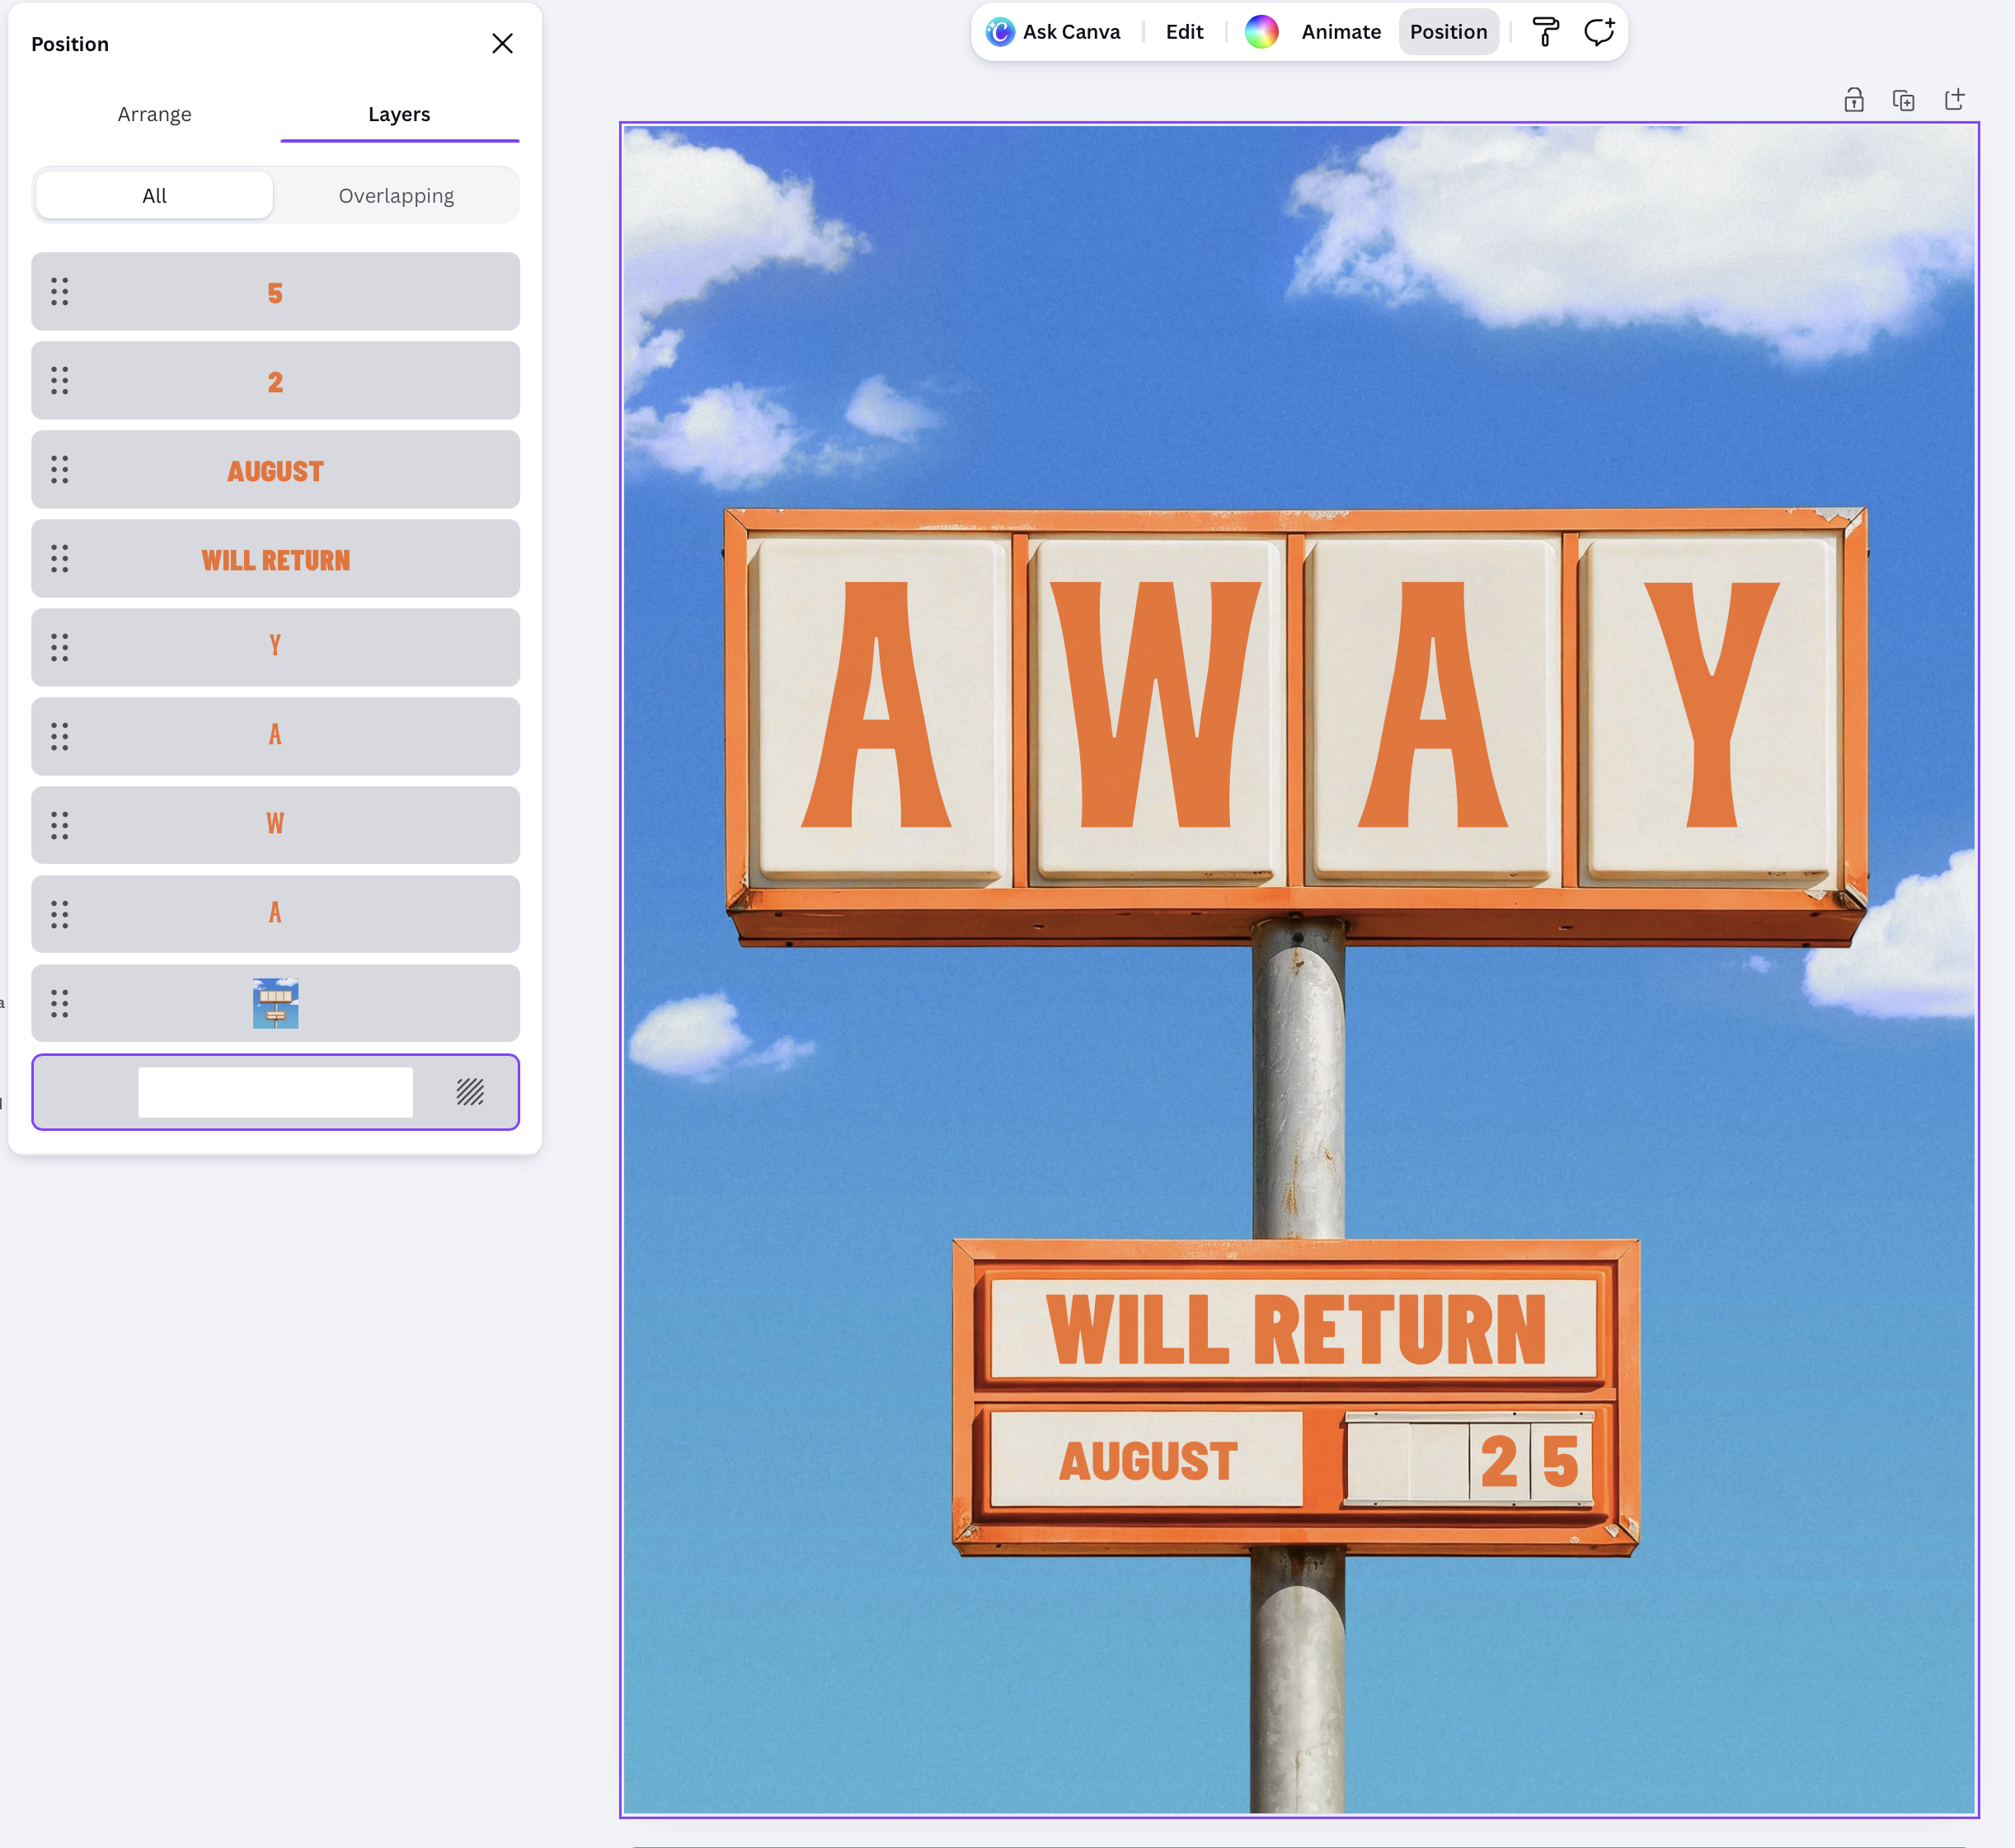
The layers panel for one of my templates in Canva.
So, what exactly are layers in Canva?
Every element you add to a Canva design — a photo, a text box, a shape, a sticker — lives on its own layer. Think of them like sheets of transparent film stacked on top of each other. Whatever's on top covers what's underneath. Whatever's at the bottom sits behind everything else.
That's really it. That's layers!
The order of that stack is what controls your whole design. A text box on top of a photo looks intentional, while the same text box behind the photo can become shrouded. Same elements, completely different result — just based on where they sit in the stack.
How to find this nifty Layers panel
Canva doesn't make this super obvious, which is probably why so many people miss it. I’m well-versed in creative apps and still struggled to find it myself at first!
Here's where to find it:
Open your design in Canva
Click Position in the toolbar at the top right (click on any object if you don’t see it automatically)
Select the Layers tab in the panel that opens on the left
You'll see every element in your design listed out, from top to bottom. The element at the top of the list sits in front of everything. The element at the bottom sits behind everything (except the color background, which is fixed and can't be moved).
To change the order, just drag elements up or down in the panel. You can also click any element in the list to select it on the canvas, which is genuinely useful when things are overlapping and you can't click what you actually want.
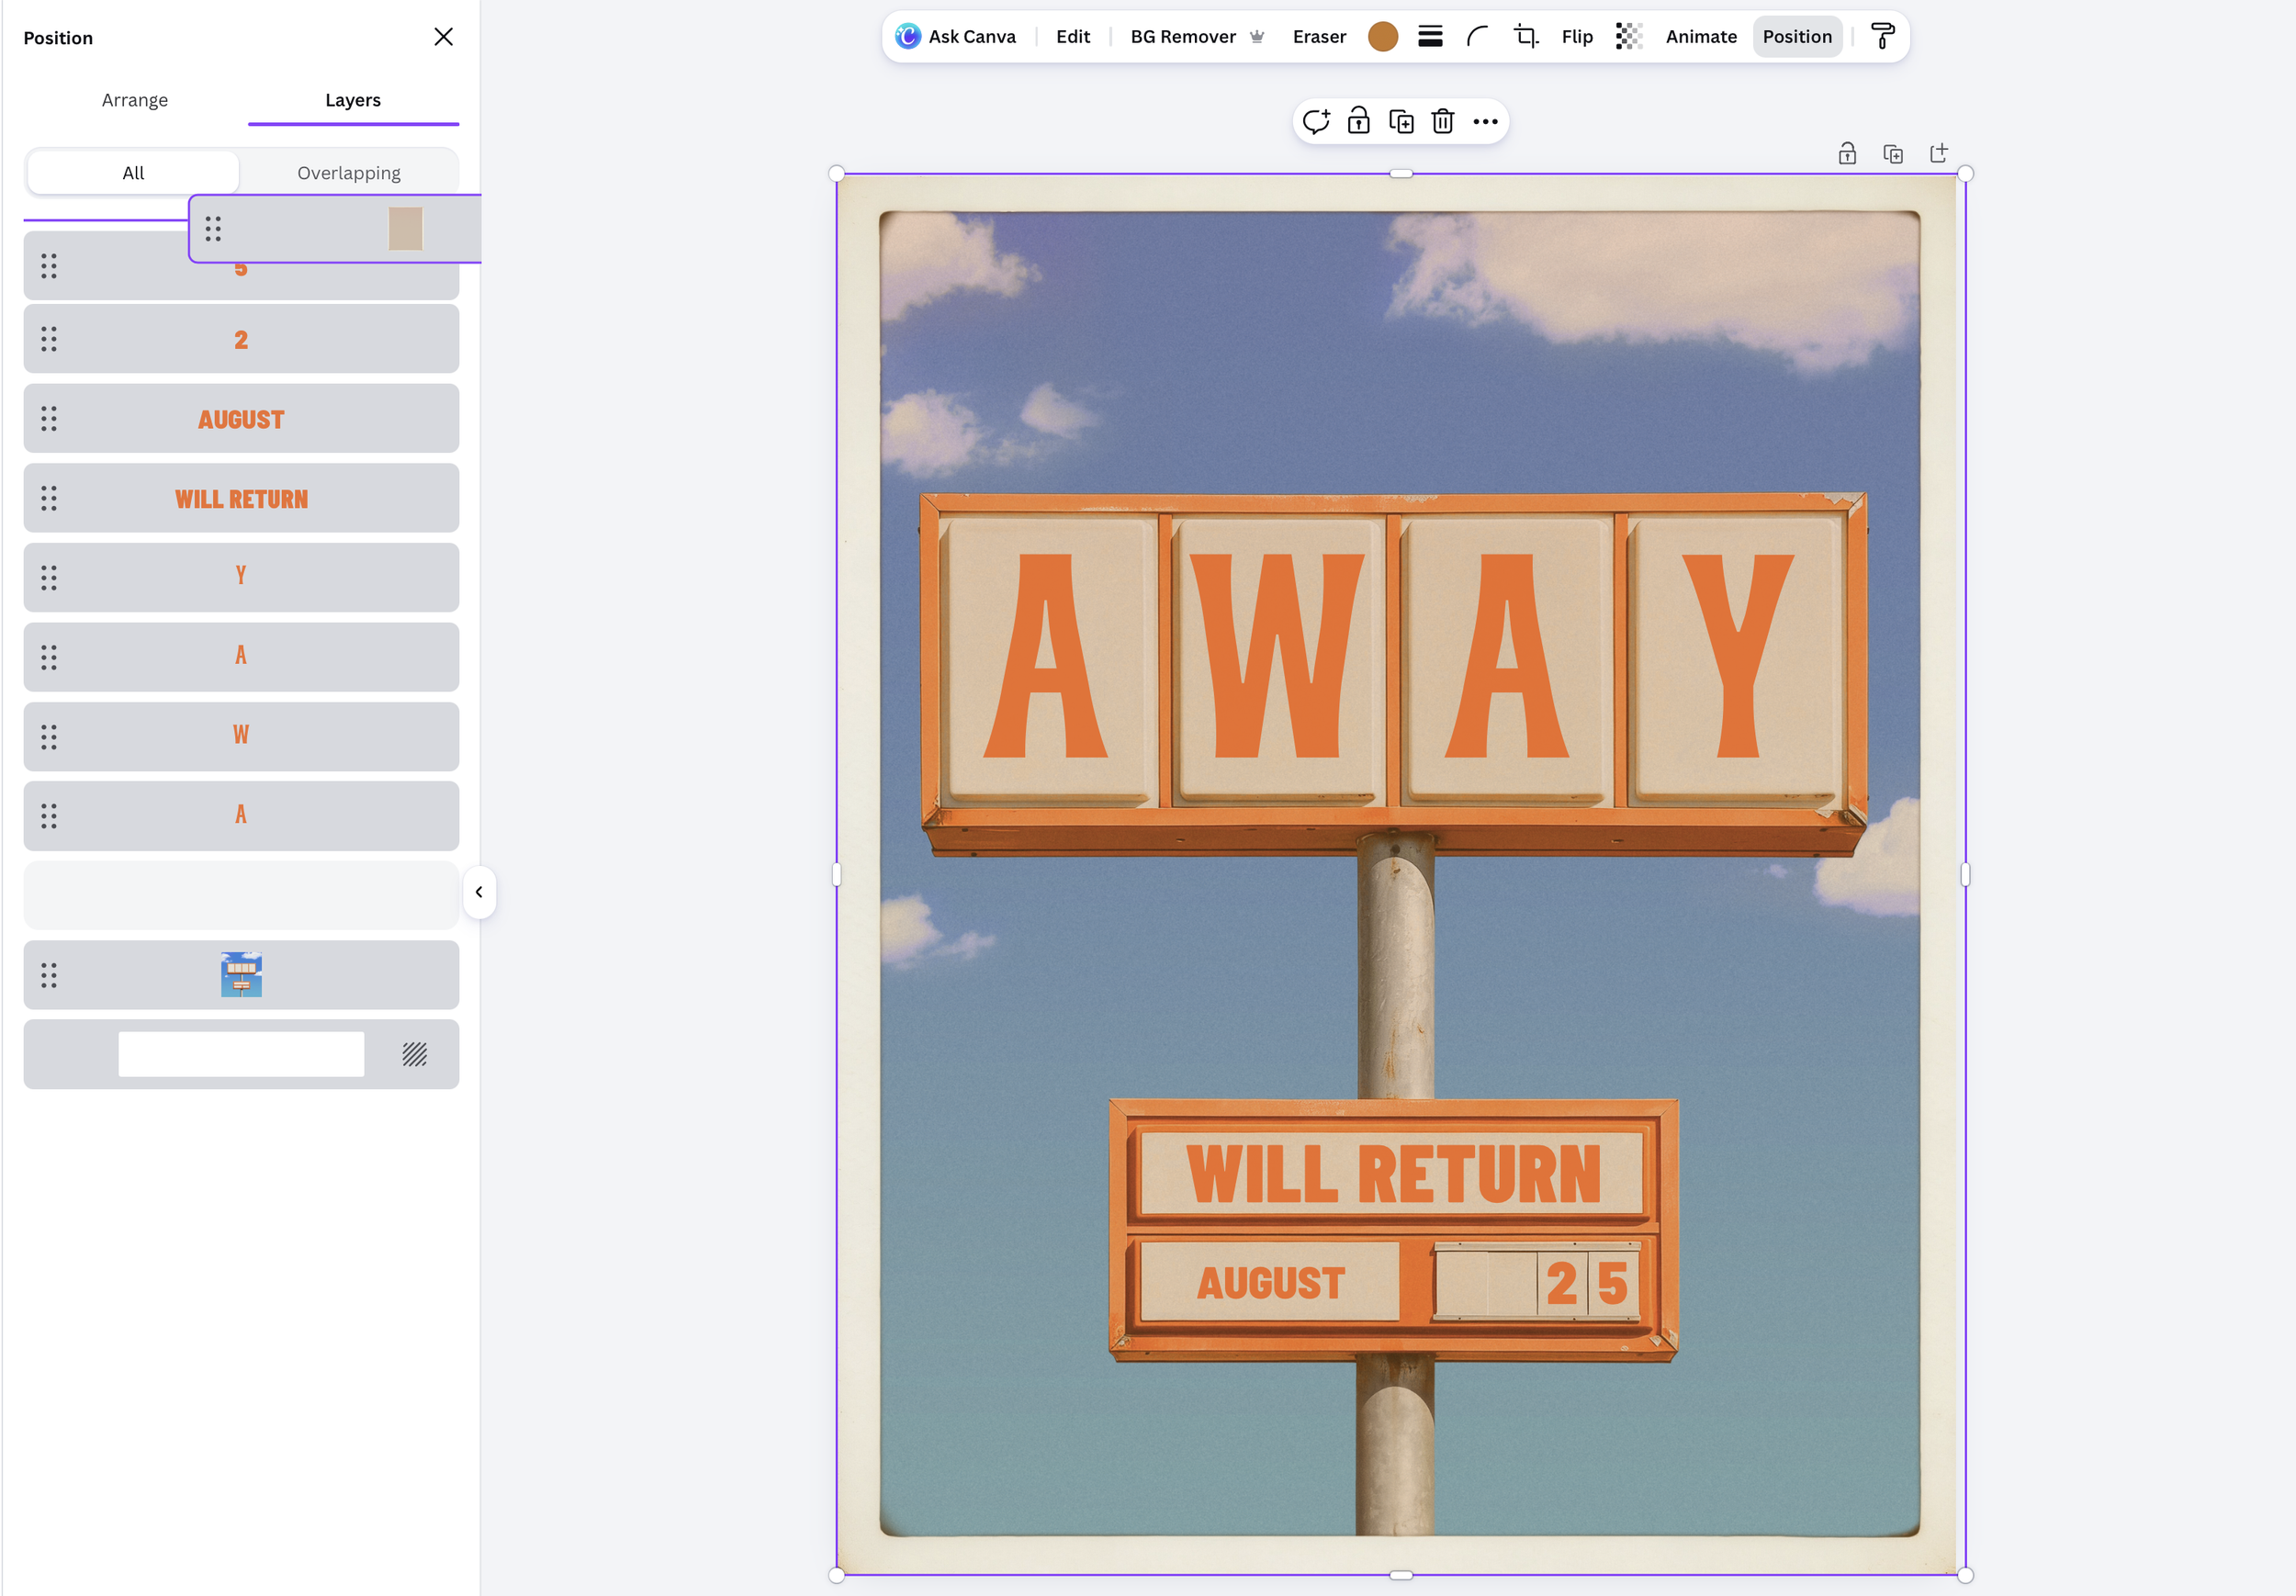
Layers are necessary when it comes to overlays. Here, I’m dragging this vintage film border to the top of my image. It also makes selecting the objects underneath it effortless.
The basics: what you'll actually use
A few things worth knowing once you're in the layers panel:
Moving layers forward or backward. Simply drag them up or down in the panel. This is how you fix the classic problem of clicking on the wrong element — get it in the right order and it stops happening.
Grouping layers. Select multiple elements by holding down cmd (or ctrl on Windows), right-clicking, and selecting “Group.” They'll move and resize together and show up as one layer in the panel. This is great for keeping things tidy when your design has a lot going on. (Psst… if you want a whole cheat sheet of Canva shortcuts, check out this post!)
Building back to front. The most underrated layers tip: start with your background, then large visual elements, then text, then small finishing details, like overlays. Build in that order and you'll barely need to rearrange anything.
Hot tip: use a retro overlay to make any photo look vintage
Okay here's the fun part, and a great way to see for yourself how useful layers are!
One of the best things you can do with layers (and one of the most visually satisfying) is to drop a semi-transparent overlay on top of a photo to completely change its mood.
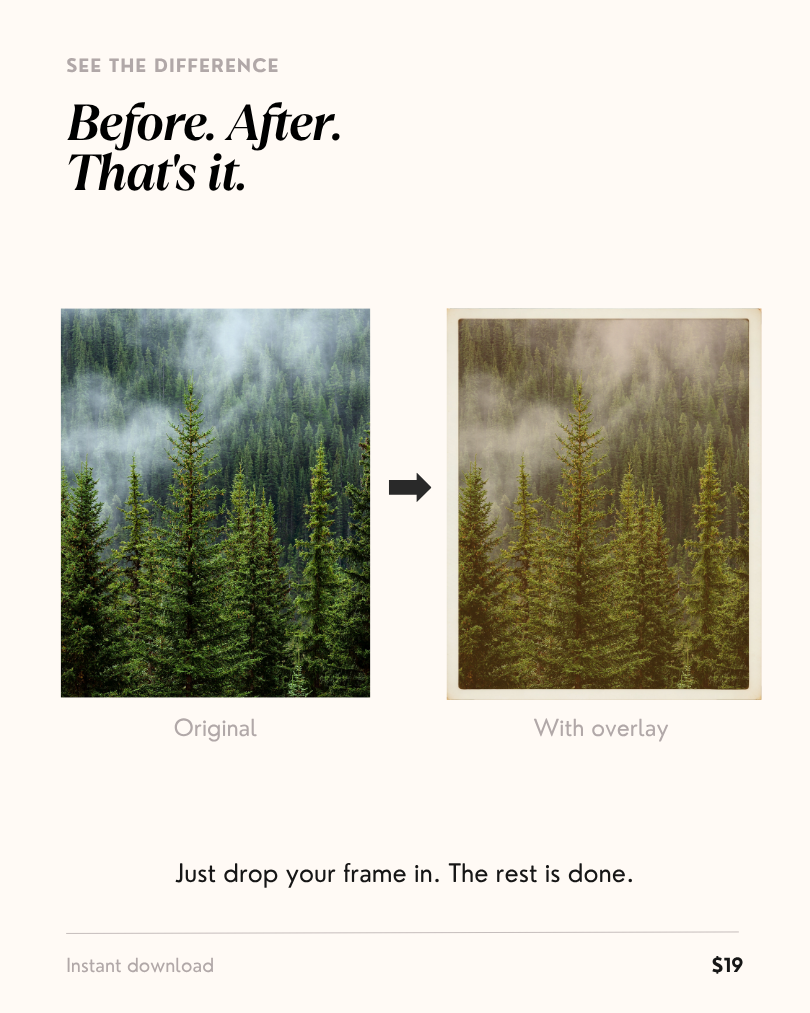
Like this forest image below, shot with a modern camera. Add a retro photo overlay on top, adjust the transparency, and suddenly it looks like it was found in a shoebox.
Sometimes when you drop elements into your design, they get put randomly behind other objects. By using the layers panel in Canva, we can ensure our overlay is right where it’s supposed to be: on top of your photo.
And if you needed to edit text underneath it, you can just drag it below everything to move it out of the way temporarily, then move it back once you’re done!
With the film overlay, you can completely change the vibe of your content with aged film grain, faded tones, and that slightly washed-out quality that makes a photo feel like it has a lil’ history behind it.
I made a whole set of ready-to-use retro overlay templates specifically for this — you just drop it on top of any image and you're done. No manual tweaking or hunting for the right texture. Grab it here →
(Already a member? It's in the Shamblen Studios elements library waiting for you!)
And if you want to go deeper on getting that full vintage aesthetic in Canva — the color grading, the grain, the fonts — I've got a whole post on that right here: Canva Hacks for a Vintage Aesthetic →
Why layers matter more than you think
Most people learning Canva focus on fonts, colors, and templates. Which makes sense! Those are the visible things.
But layers are what's controlling all of it underneath. They're the difference between clicking around hoping something selects correctly and actually being in control of your design.
Once you start thinking in layers—background first, details last, overlays on top—Canva stops feeling like a guessing game. You click what you mean to click, and things stay where you put them… which makes the whole process a lot less frustrating & a whole lot faster!
Ready to try the overlays? They’re in the shop here and works on literally any photo. 🙌
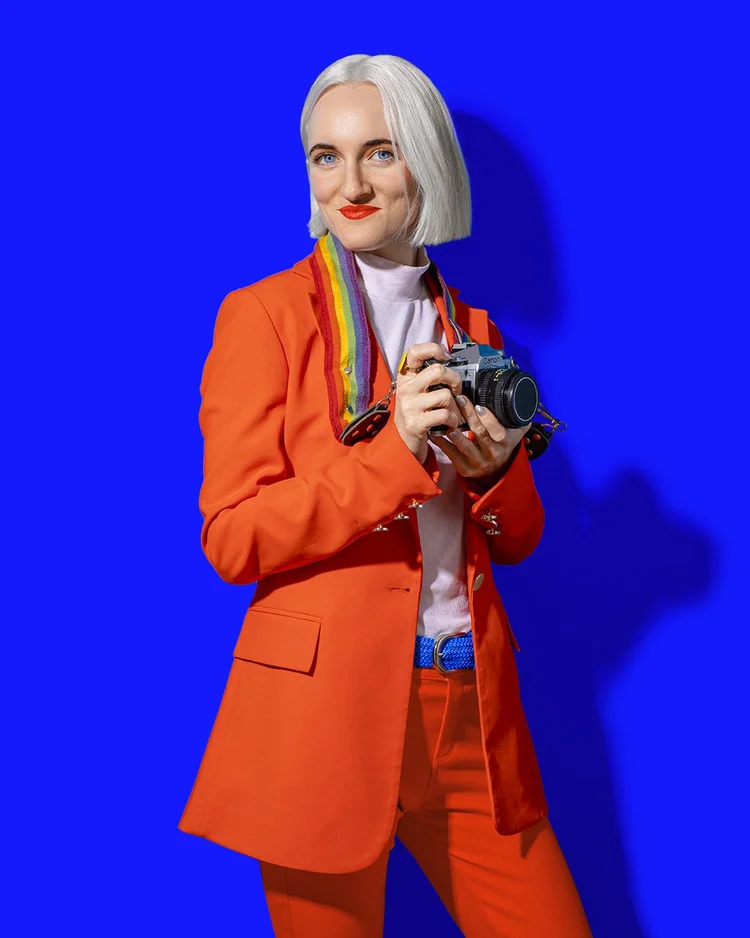
Hi, I'm Amy — the person behind this post!
I'm a creative director who's made things look good for brands like PepsiCo, Too Faced, and Dunkin'. These days I channel that into Canva templates for small business owners who have better things to do than spend three hours on a single Instagram post. If you want to try them yourself, I made the overlay that's featured in this post:
Get the retro overlay →